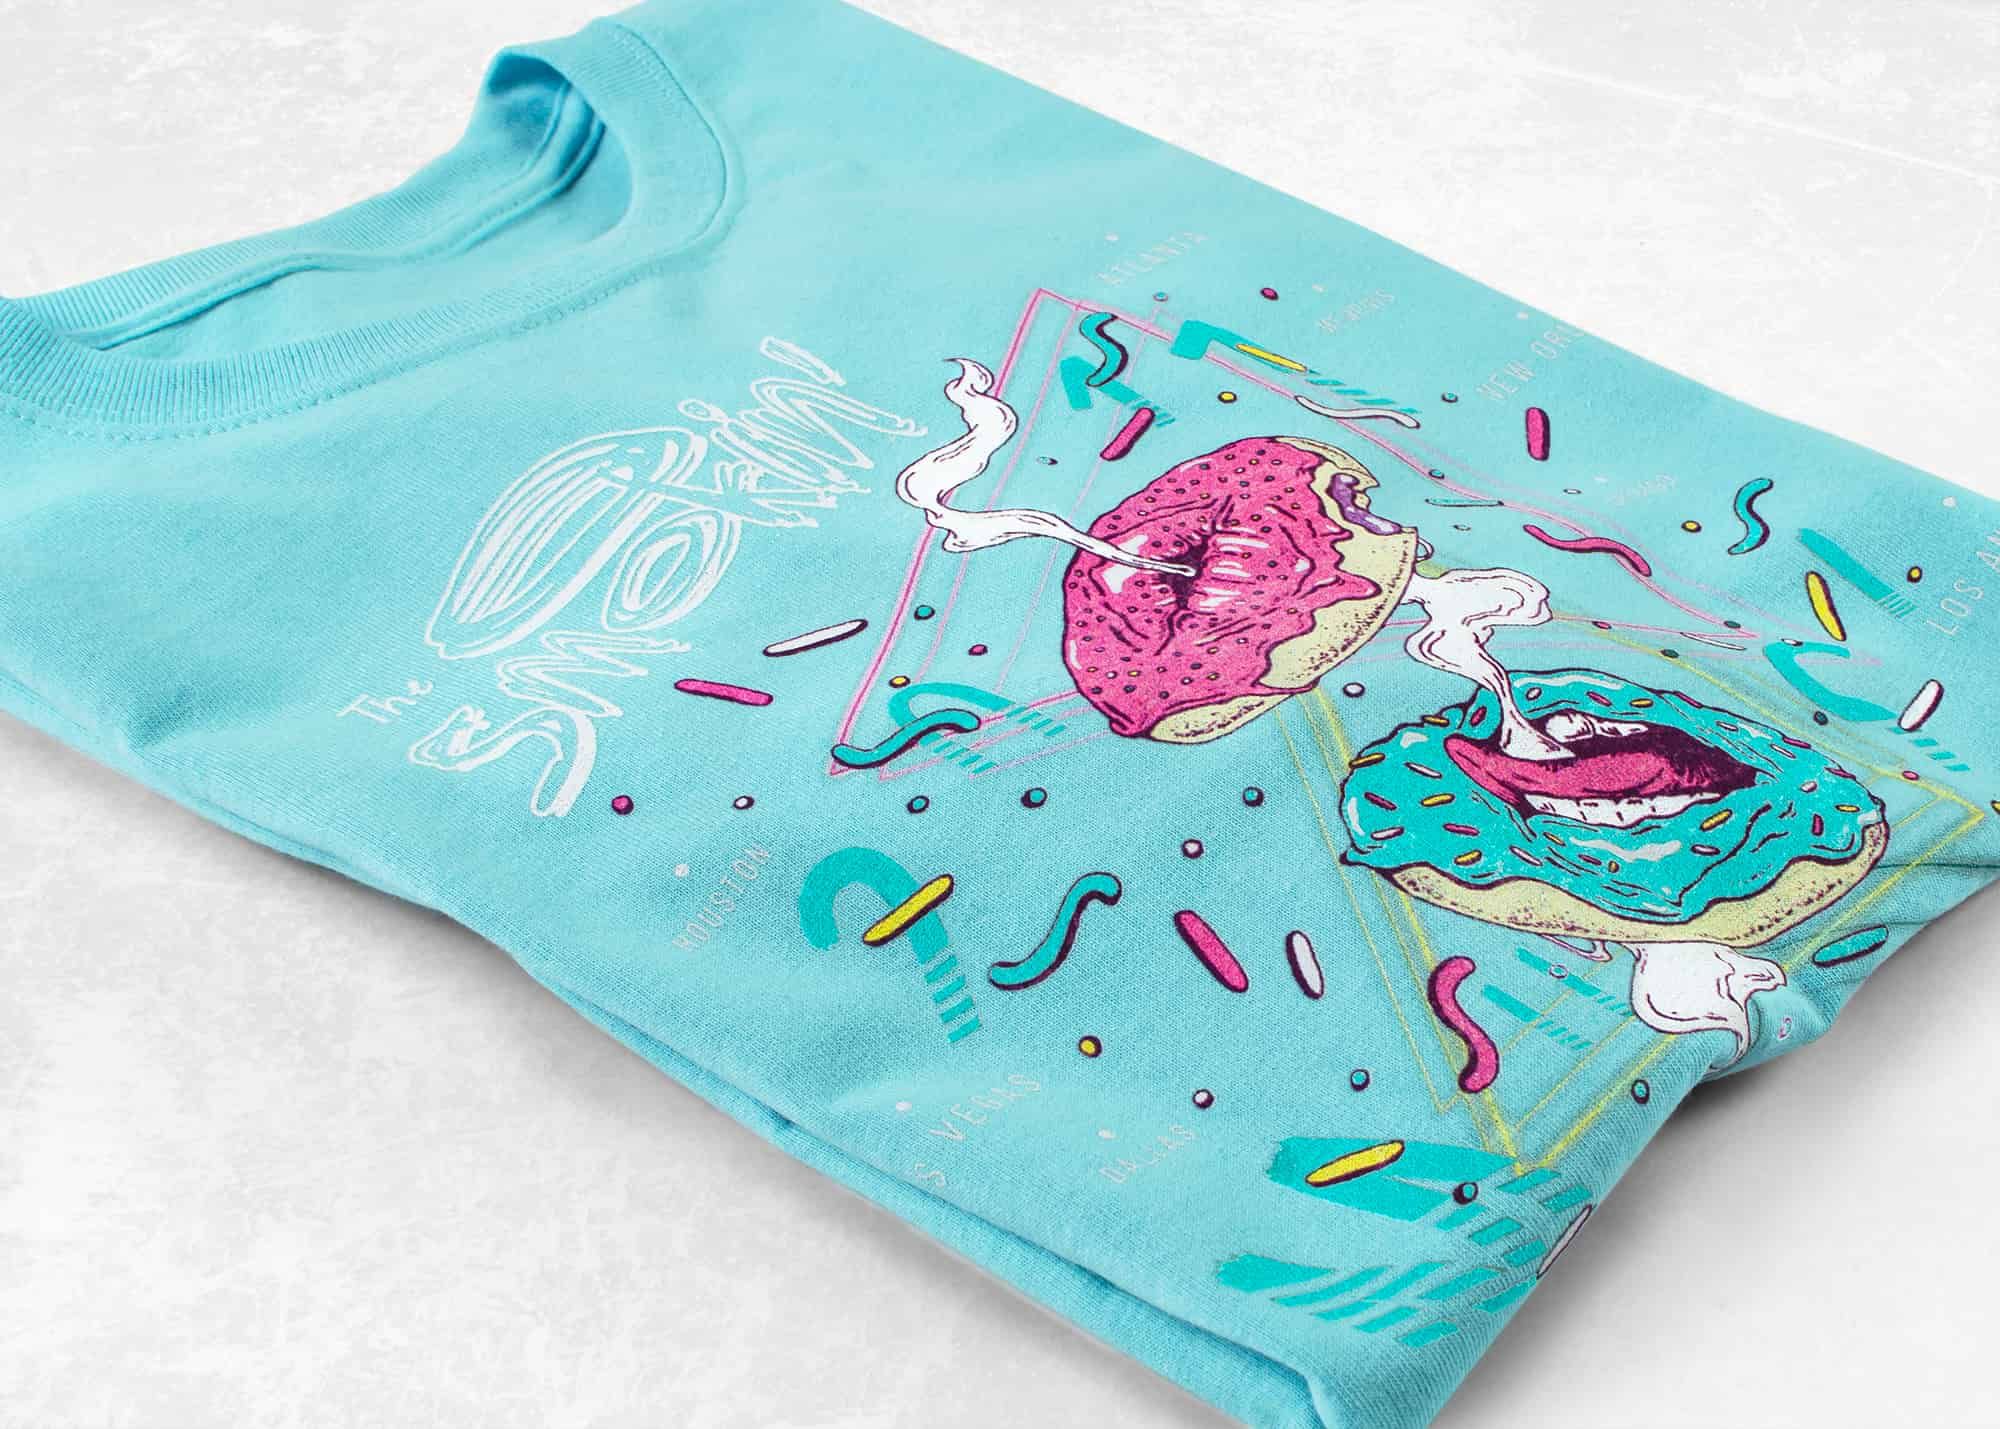

As the new and exciting technology in t-shirt decoration, digital printing opens a new door into print-on-demand custom t-shirts like never before. The process has allowed for minimum-free ordering for customers and allowed printers to diversify what they offer. To better understand what makes this unique and how you can use it, we’ll walk through each step in the digital printing process.
Digital printing refers to direct-to-garment printing or DTG. During its short lifetime, we’ve seen huge advancements in technology that have taken the early machines that were slow and problem-ridden, to the speedy and versatile versions we have today. In its earliest form, digital printing was restricted to light colored, 100% cotton t-shirts. And now, we can print on dark colors with white ink, work with a variety of blends, and produce quality prints in less time.
The basic steps for digital printing custom t-shirts
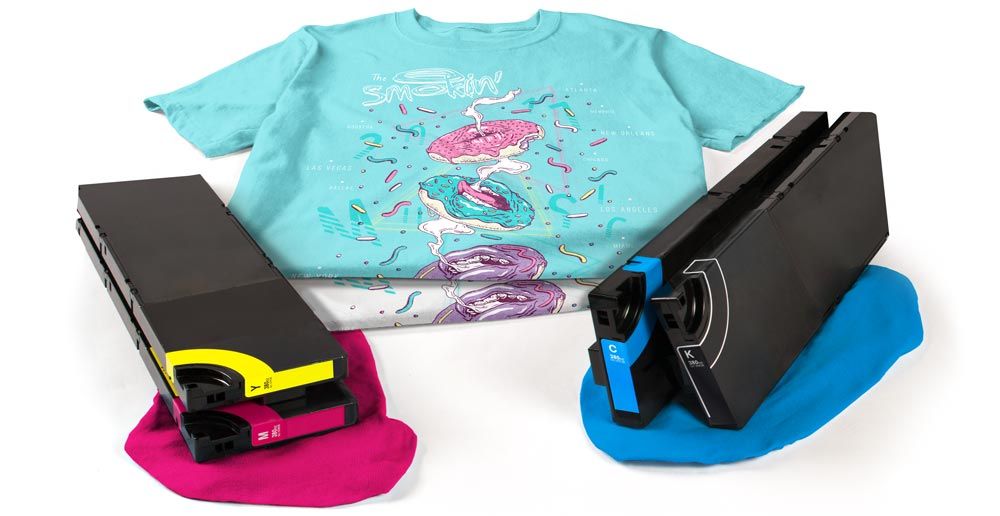
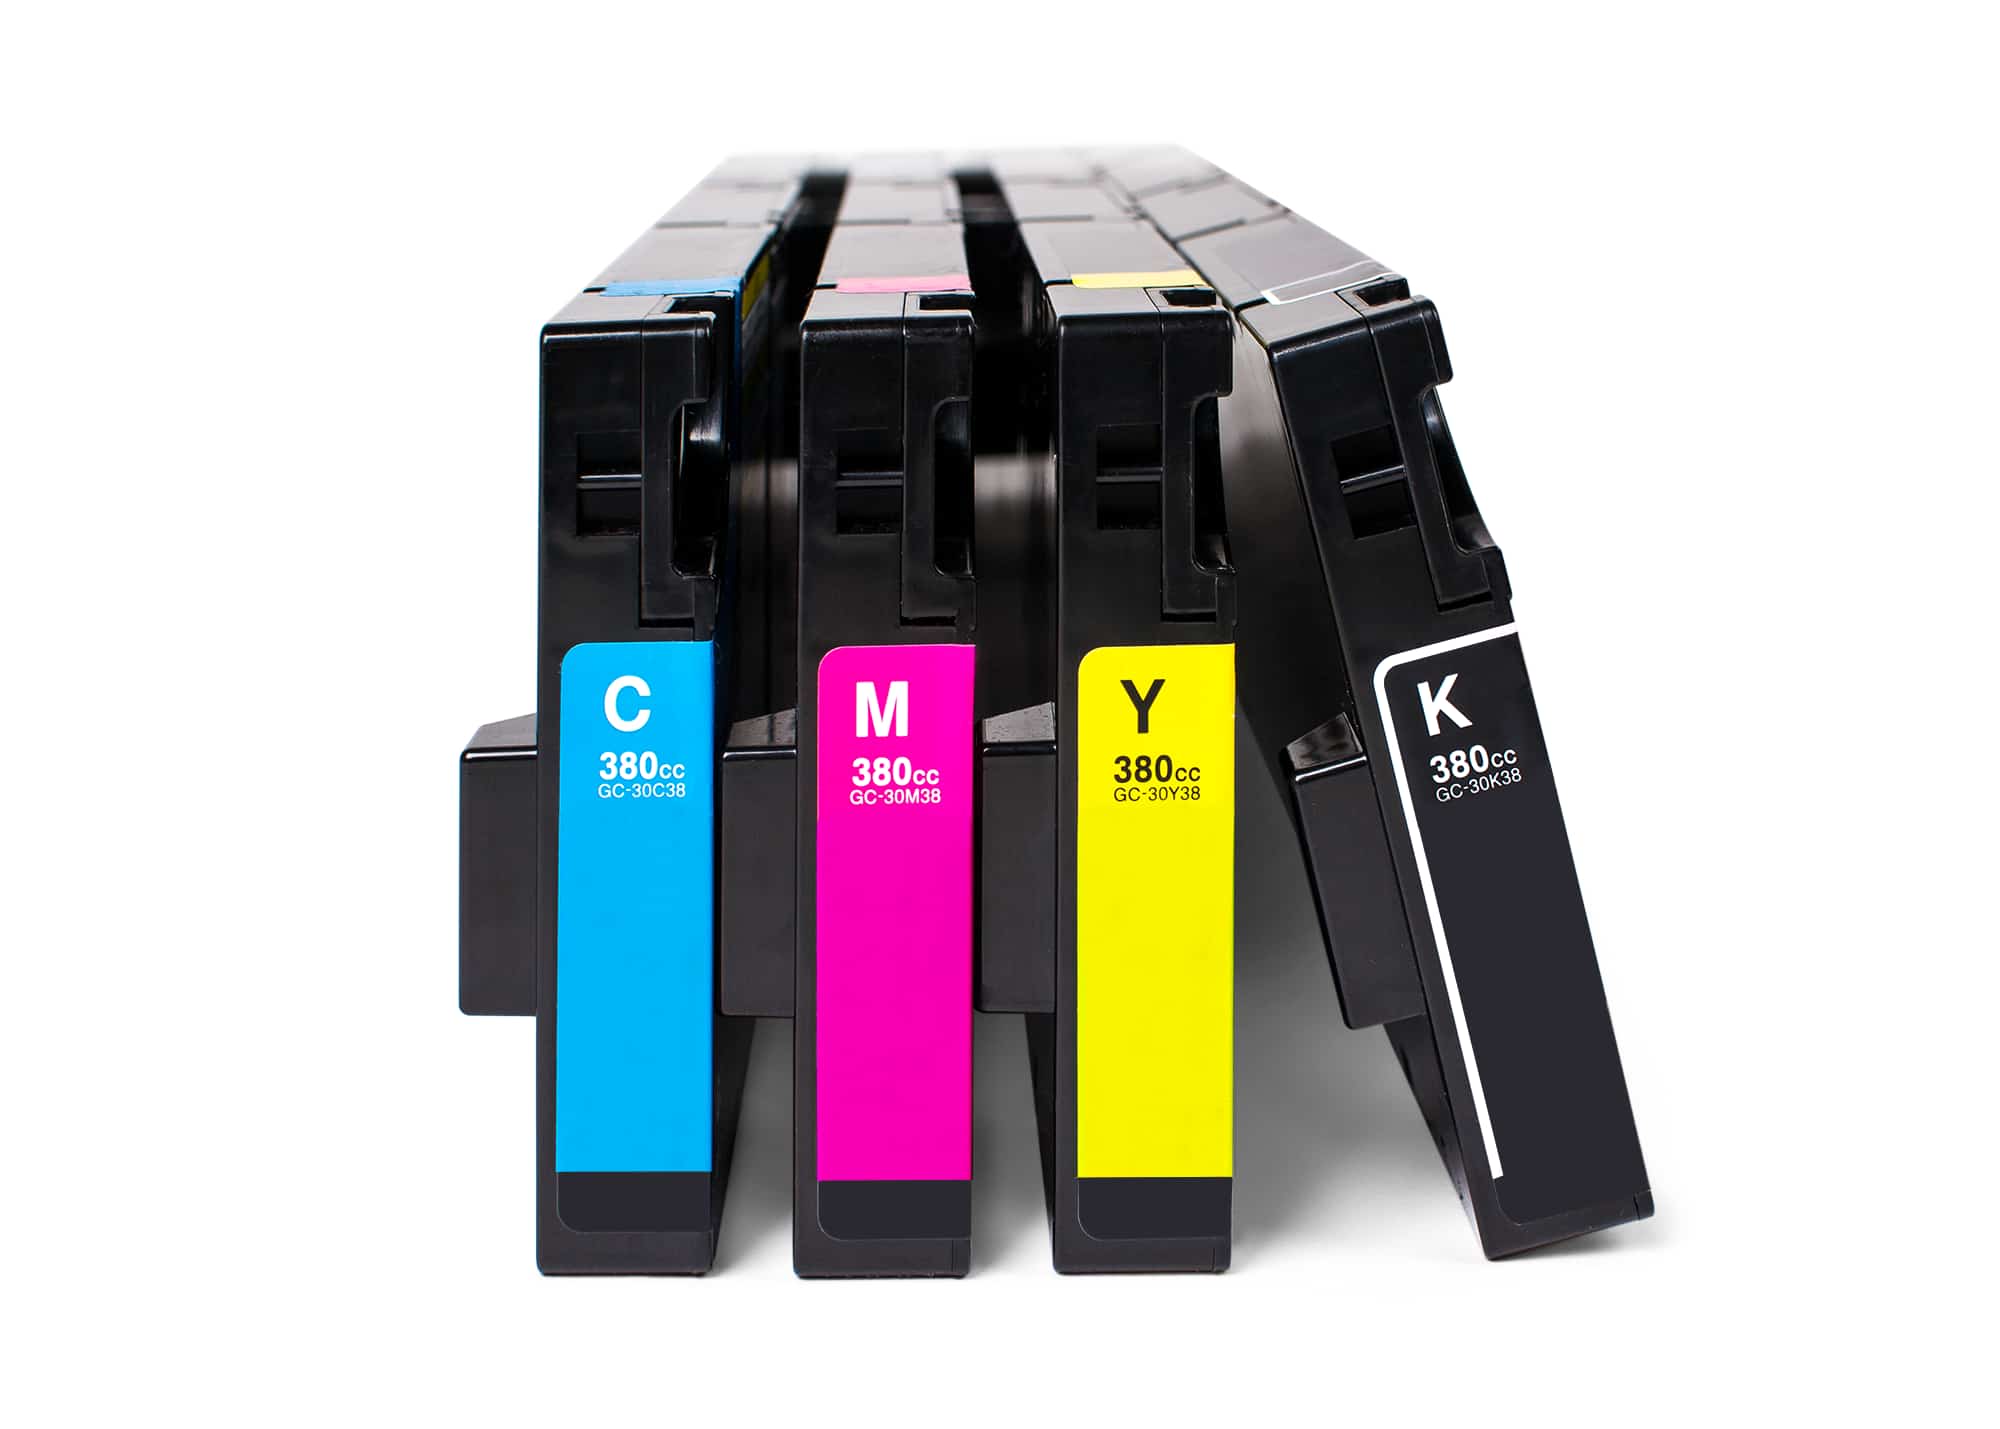
Digital printing works just like your typical desktop printer — with a few added steps. An inkjet printer using cyan, magenta, yellow, black, and now white inks, prints designs directly onto your t-shirt. And just like printing paper, your t-shirt design is printed in small, incremental passes as it exits the printer. But because we’ve traded paper for t-shirts and added white ink to our color pallet, there are a few other steps to take care of.
Here are the 3 basic steps along the digital printing process:
- Artwork preparation – Each file needs to be prepared and converted to a version we can send to our DTG printer.
- Pretreatment – Shirts that we’ll be printing white ink on first need a specialized coating.
- Printing and curing – With the press of a few buttons, ink is laid down and then cured to ensure washability.
Let’s dive further into each one of these steps to see what’s important to your order and how digital printing allows for one-off custom t-shirts.
Artwork preparation
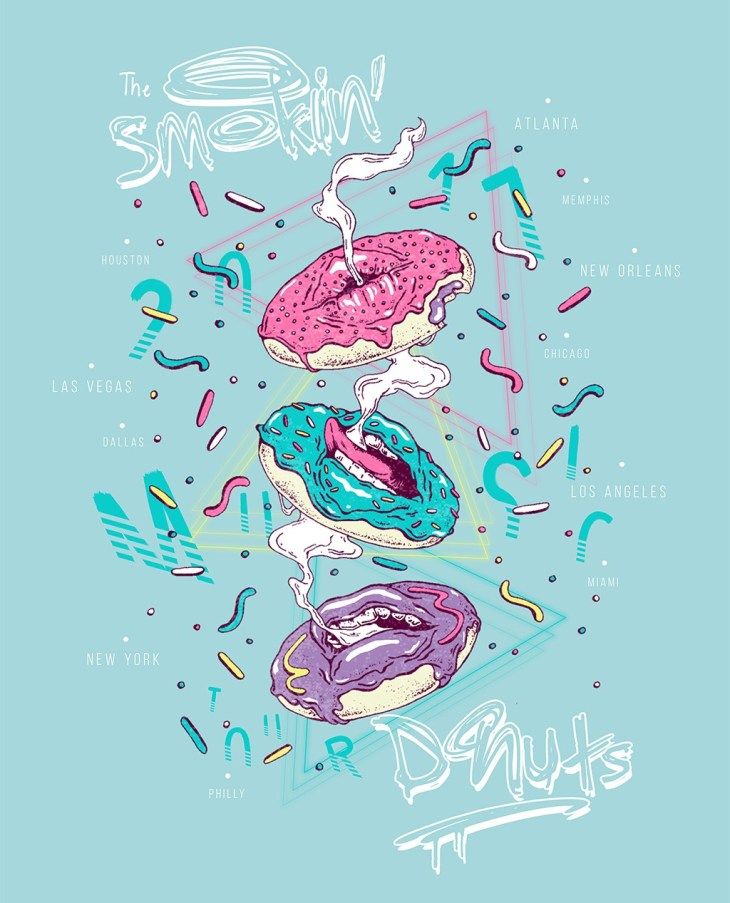
To get us started, we need a proper design file that can produce a quality print and works with our DTG printer. And because of the way digital printing uses inkjet technology, we’re not limited by complexity or the number of colors. This streamlines preparation and is just one more reason why we can offer custom t-shirts with no minimum order.
Artwork requirements
Designs go straight from the computer to your t-shirt, so it’s important that we send the best quality image we can to the printer. And even though preparing designs for digital printing is much faster than it is for screen printing, it’s still important that our starting image can give us the kind of crisp print we’re looking for.
To define what makes a quality image, let’s look at the two possible image types:
- Raster images – The more common of the two types, raster image files typically are JPG, PNG, GIF, BMP, TIF, or PSD. Raster means that they are made up of many square pixels of different colors and quality is usually expressed as the number of pixels, aka resolution.
The ideal image for digital printing has 150 pixels or more per inch at the size you’d like it to print. So for a 10” wide by 4” tall print across the chest of your t-shirt, you’re looking for an image that’s 1,500 pixels wide by 600 pixels tall. Don’t worry too much if your image is a little smaller, just know that the further away from this ideal resolution, the more likely print quality could suffer.
Tip: On the computer, right-click on your image file and look for “properties” and “details”. There you can usually find your image resolution.
- Vector images – These image files are typically AI, EPS, PDF, or CDR. Vector means that instead of pixels, these images are made up of crisp lines called paths and angles called anchors. What makes them great is that they can be resized indefinitely without any quality issues, so any image will work for any size print.
Unfortunately, vector images are harder to come by unless you’ve made them yourself or been given them by a designer. So you can be sure of print quality, the clip art and design templates in our design studio are all quality vector images for customers to use freely.
File set-up
Once we have the starting image we want and have made any necessary adjustments, our standard image files need to be converted to a version our DTG printer can use. Unique to the printer, these files are created using the machine’s accompanying software and hold some additional information necessary for digital printing.
3 key things our new file includes are:
- Pallet size – Shirts are threaded over a tray, called the pallet, that moves in and out of the printer while the design is being laid down. And depending on the style, like a ladies tank top, baby onesie, or youth t-shirt, different pallet sizes may be necessary and is part of the final design file.
- Design placement – The design is placed at a specific location on the pallet so that when our t-shirt is threaded on, the printed image falls where we want it to.
- White underbase – To allow vibrant ink colors to show up on dark apparel, a white underbase is printed underneath our CMYK inks. This underbase is usually created and included by the printer’s software.
Pretreatment
T-shirts that need white ink for their designs first need to be coated with a specialized spray we call pretreatment. This clear, spray on solution creates a thin barrier that keeps our inks from soaking down into the shirt and makes a chemical reaction with white ink that allows us to print CMYK immediately on top of it. The machines that apply this coating use high pressure nozzles to spray a thin and consistent coat across the entire area we’ll be printing.
A couple things we look out for when pretreating t-shirts are:
- Volume – Applying the right amount of pretreatment for the color and fabric is important for making vibrant and resilient prints. Too little and colors can look dull, too much and the print may degrade when being washed.
- Drying – It’s important that the water in the pretreatment solution is completely evaporated before printing. We can do this either with a heat press or the kind of belt fed dryer used in screen printing. But either way, it’s best to give every t-shirt a press to flatten down fibers and make a smooth surface to print on.
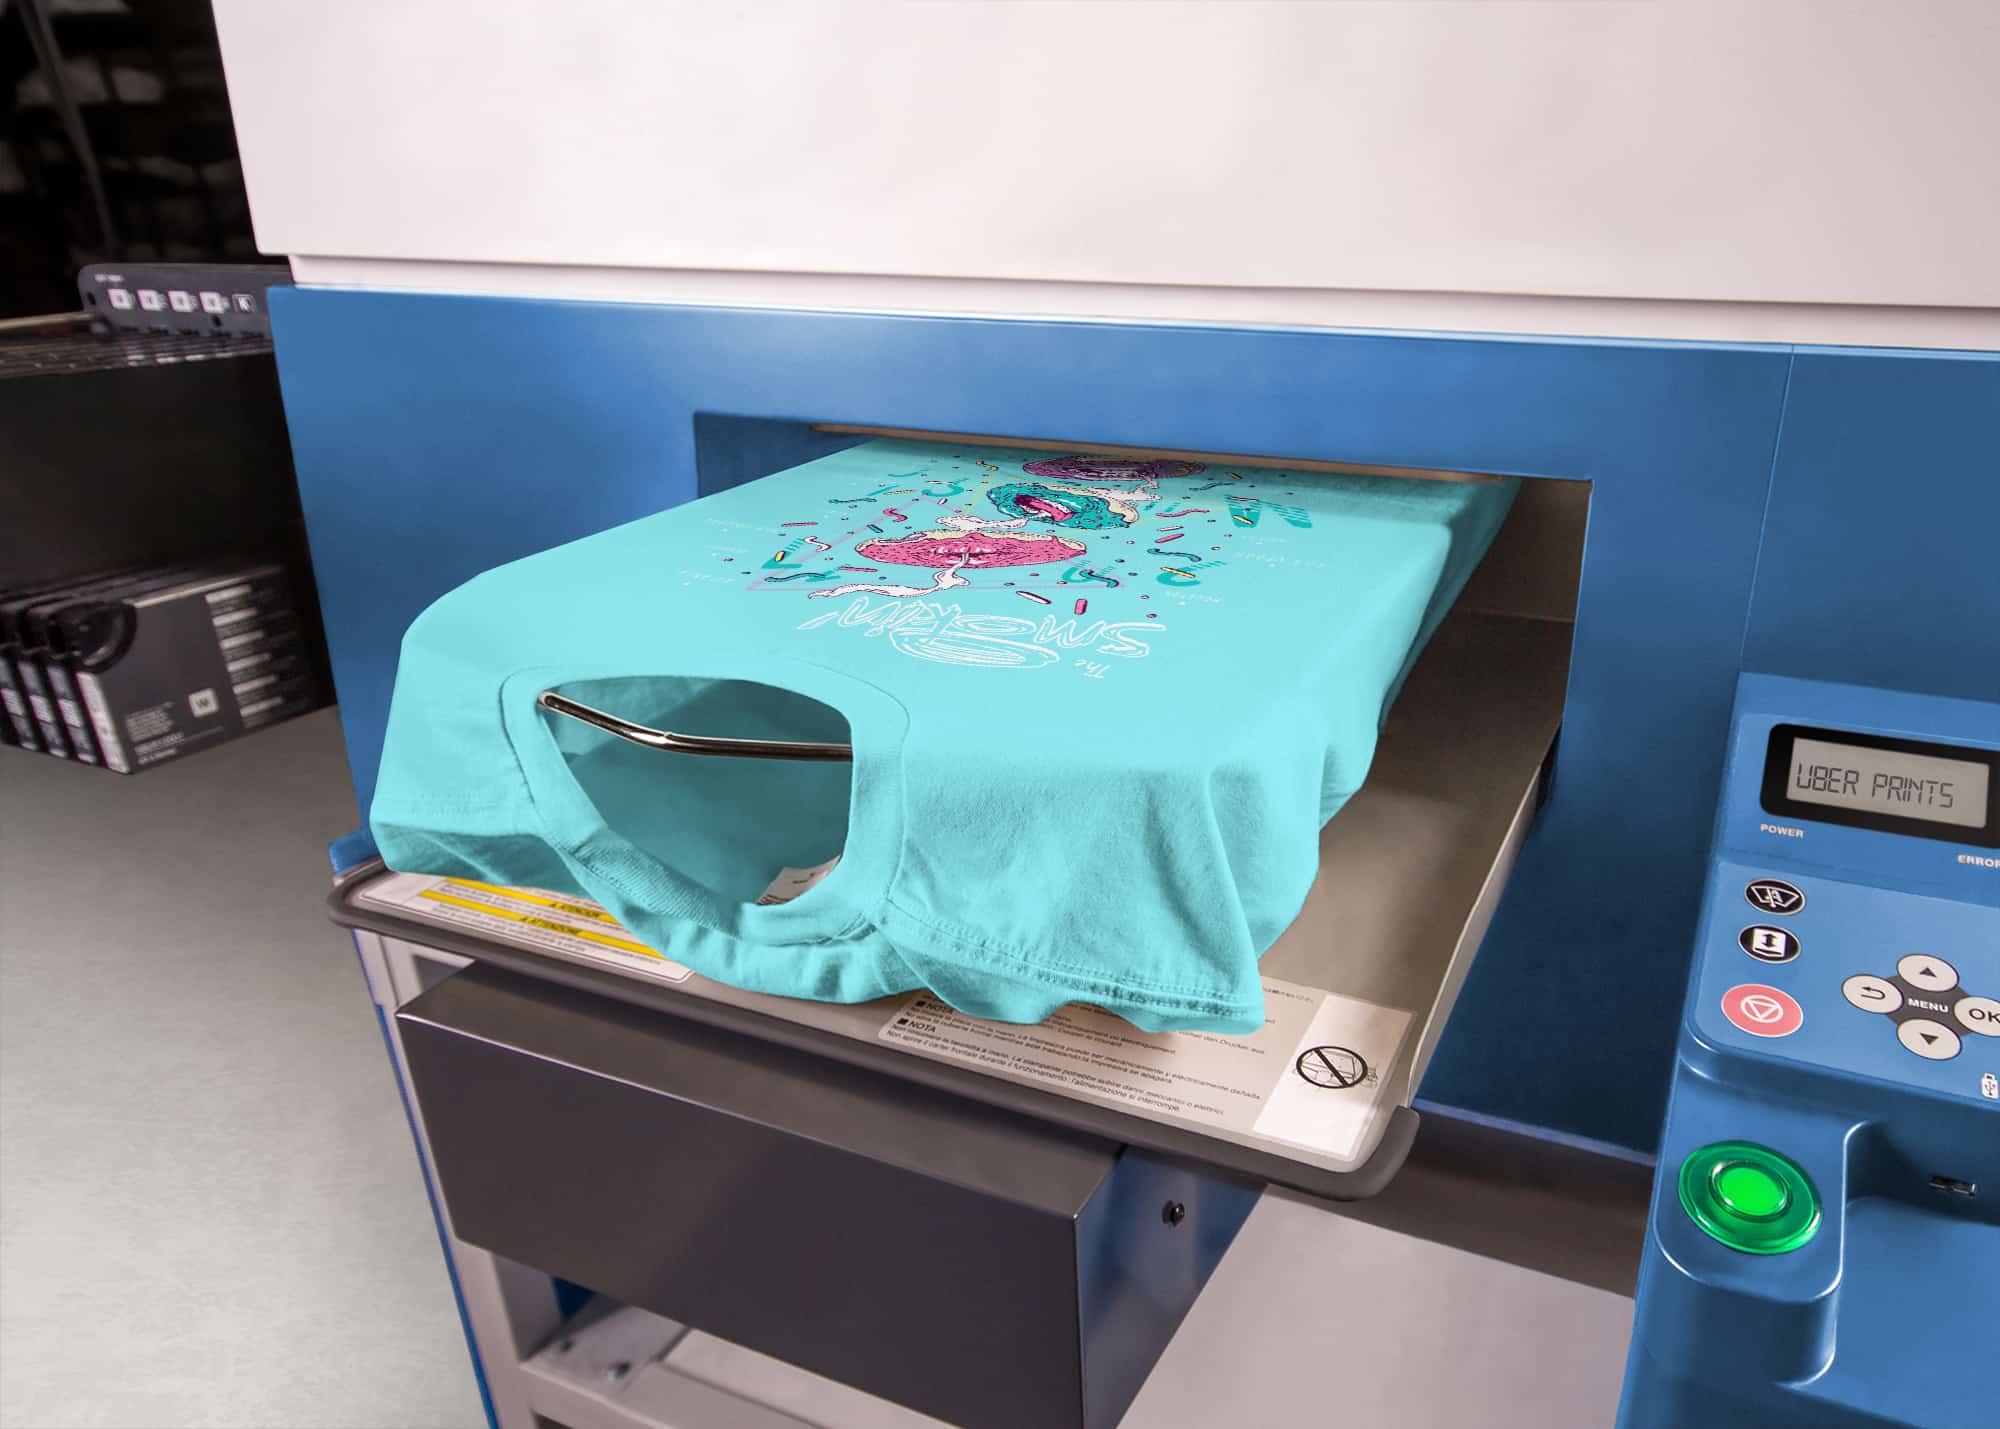
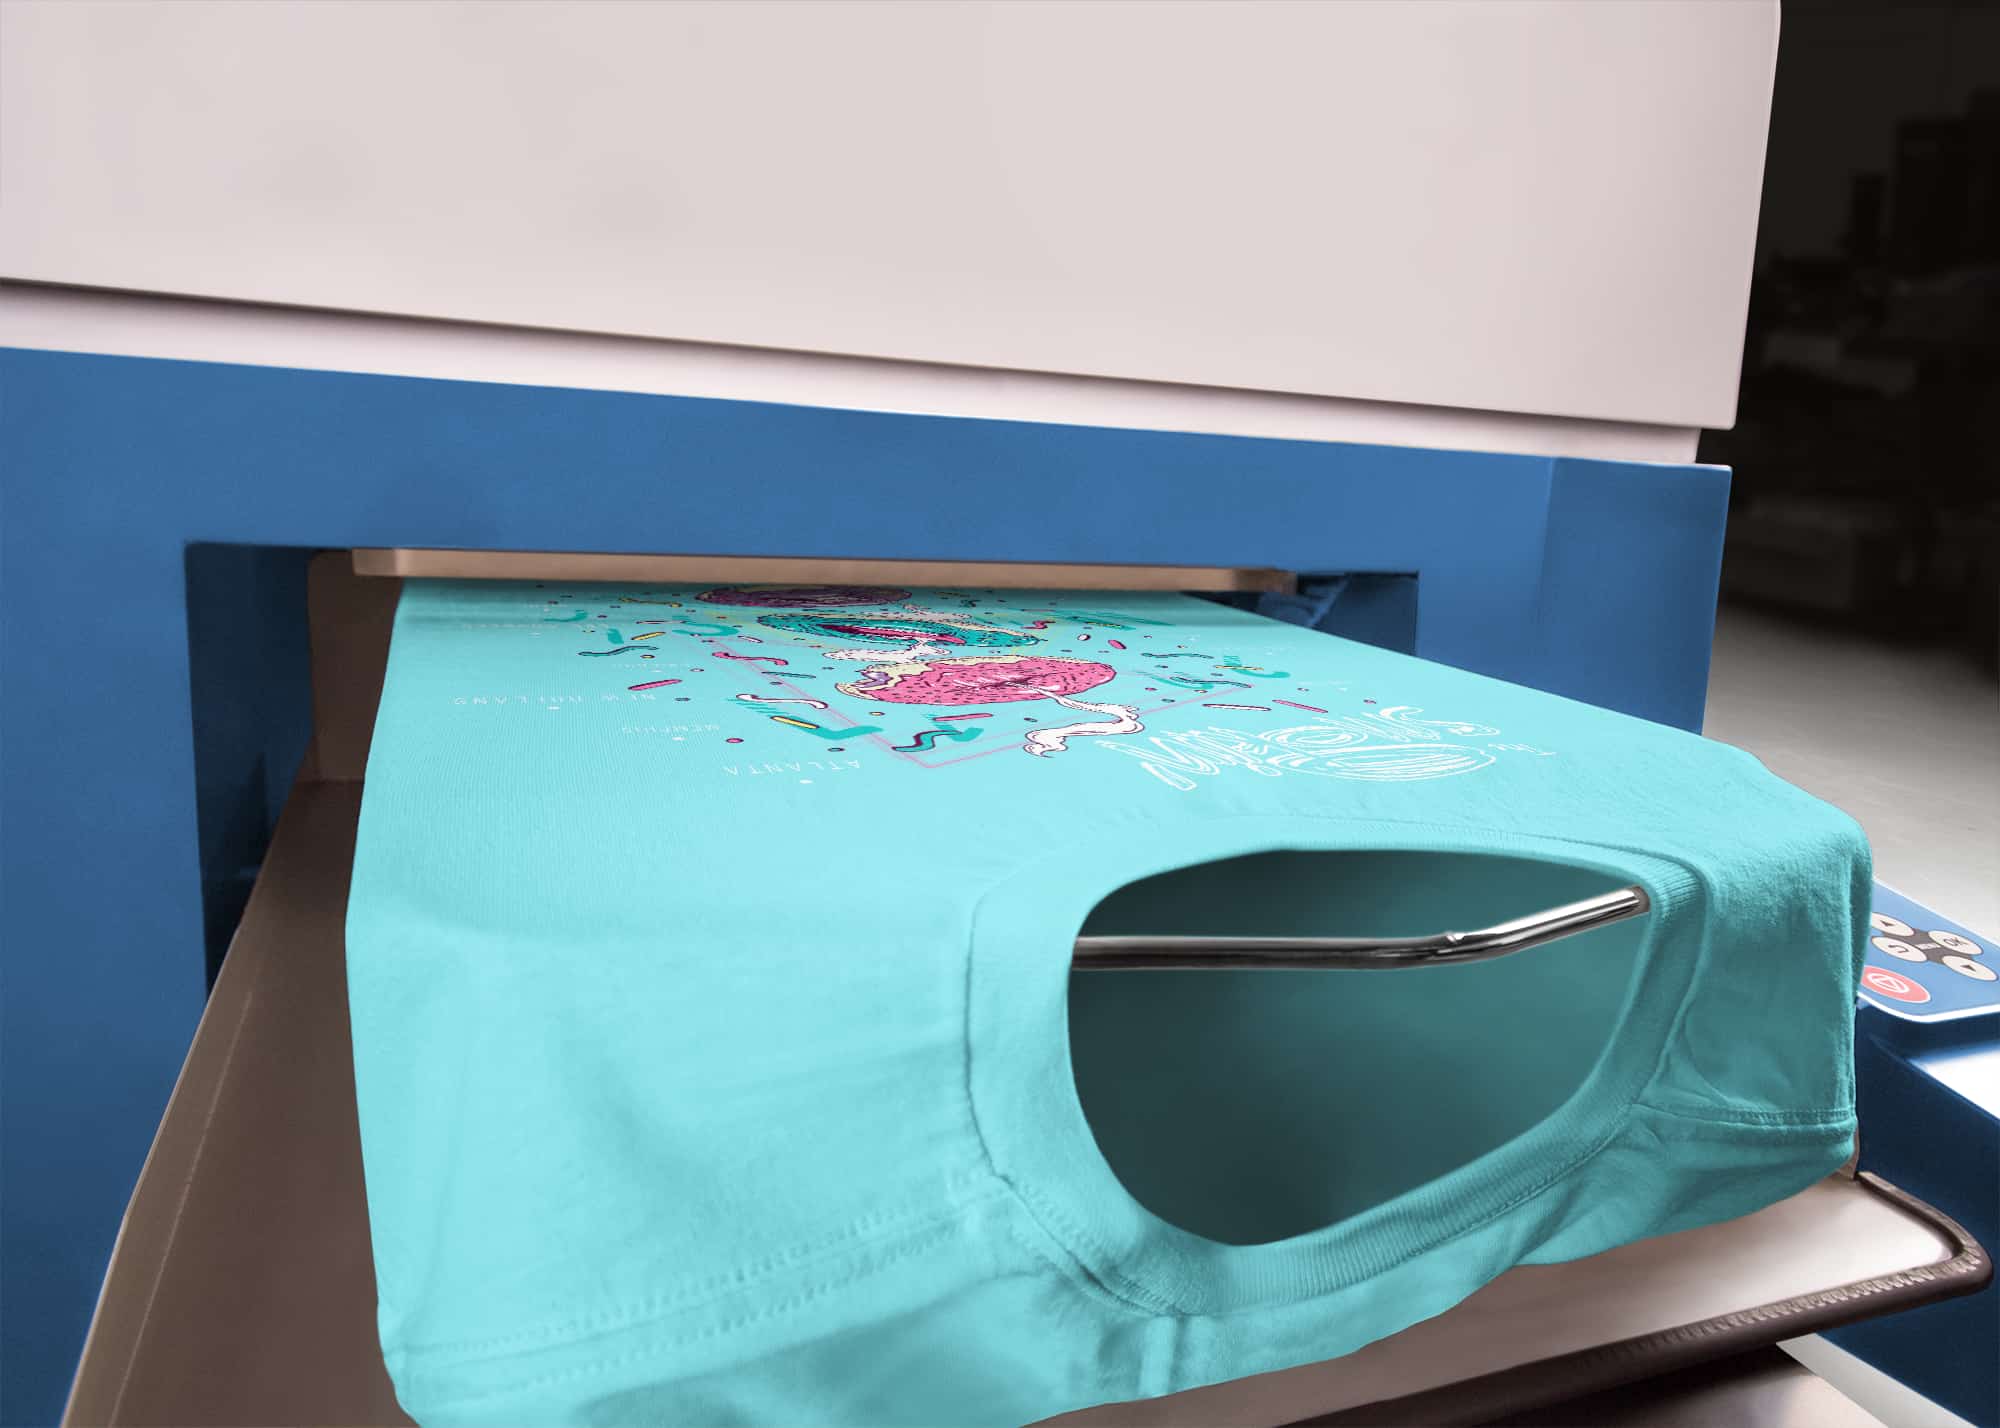
Printing and curing
Now that our design file is ready and we’ve pretreated our t-shirts, we’re ready to load and start printing. We send files to the printer from a connected computer and with the push of a button, the printer pulls in the t-shirt and starts laying down ink. Once the whole design is finished, we can pull our t-shirt out and dry the ink thoroughly to make sure it’s durable even when washed.
To get the best quality prints out of our DTG printers, these are some things we look out for:
- Printer settings and maintenance – Especially when working with a wide variety of fabrics and styles, it’s important that our printer’s settings and maintenance are tended to. We can adjust the pallet height and print direction, calibrate alignment, and check for clogs that can affect print quality.
- Curing – The water-based ink used in DTG printers needs to be fully set by heating the t-shirt, either with a heat press or belt dryer, until all the water has evaporated. This typically means temperatures above 300°F for anywhere from 30 seconds to a couple minutes.
Bringing it all together
If you’ve noticed how few steps it took to get us here, then you realize what makes digital printing unique. The simplicity and efficiency of this process makes ordering even just a single custom t-shirt possible. And with no bounds on number of colors, and no waiting on extended lead times, it’s become a popular option to fill a need we wanted all along.

Some advantages to digital printing:
- No minimums – Shorter preparation makes it possible to print even just one custom t-shirt. When changing from one design to another is as simple as loading a new file, it opens the door to a new kind of print-on-demand that works for printers like us, and gives customers a new way to order.
- Unlimited colors – CMYK printing, called process color printing, means that we can create any number of colors without the additional cost. This makes photographs and complex designs possible for even small t-shirt orders.
- Short production time – The time it takes to get a print down on your t-shirt is faster than it’s ever been with digital printing. That means we can guarantee much shorter production times and get your order to you without the long wait.
If you’re still unsure about how to get started with your own custom t-shirts, be sure to check out our help center for a full walk-through of the designing and ordering process. And always feel free to contact us and we’d be more than happy to lend a hand.